
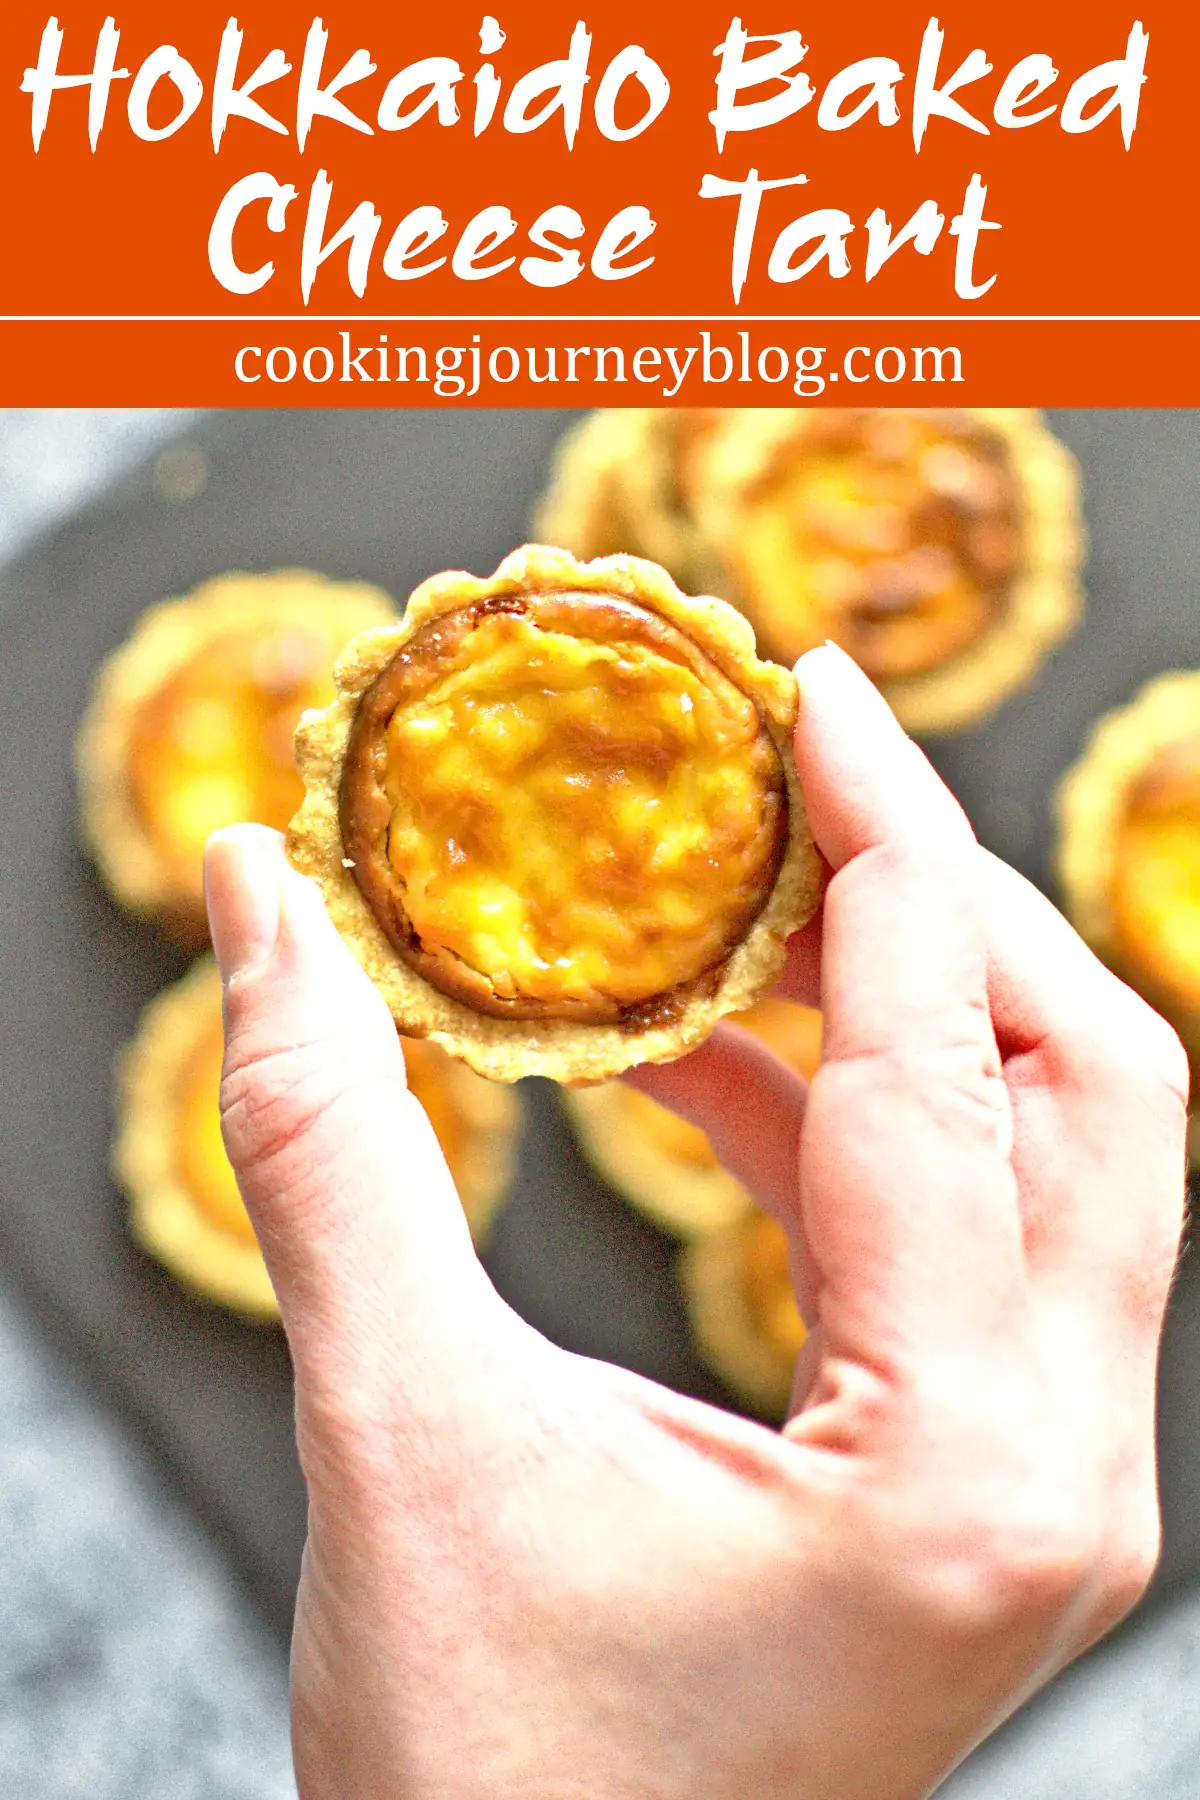
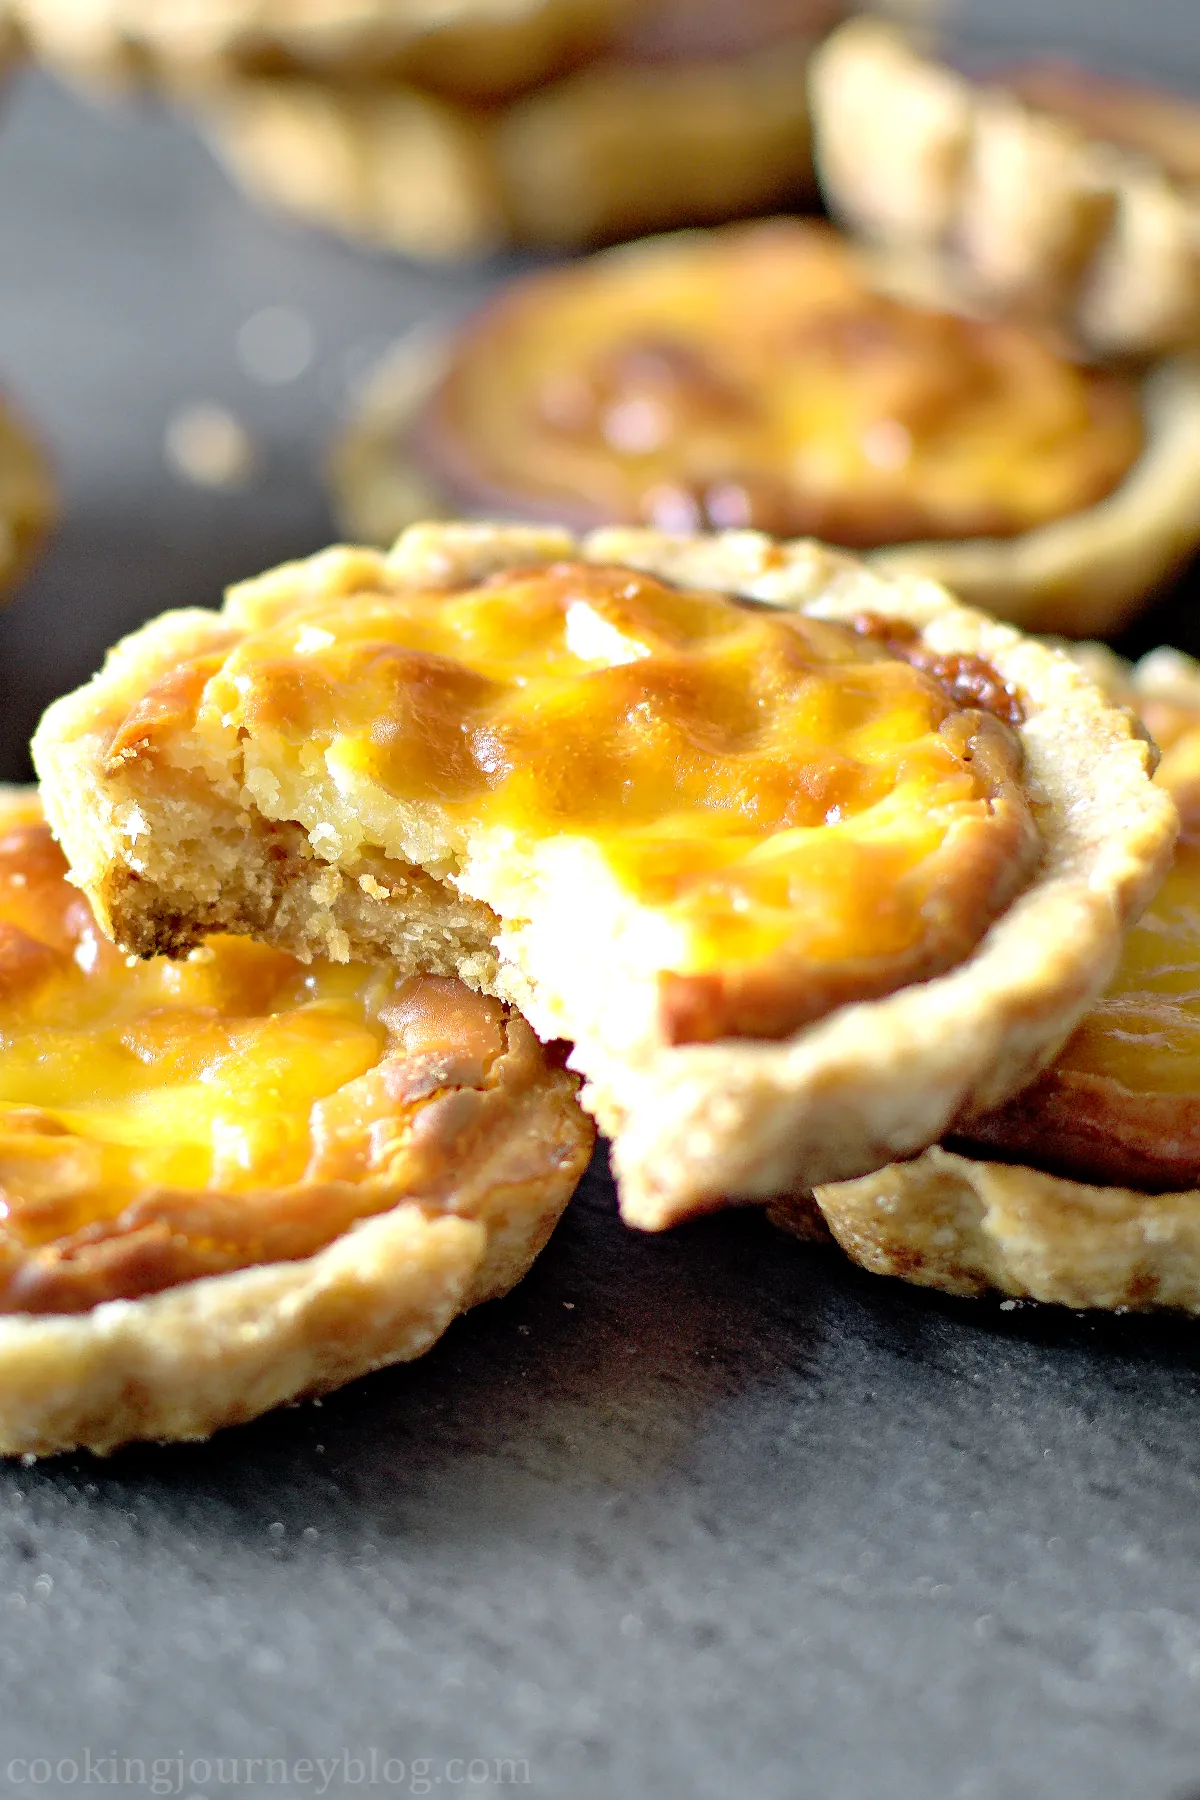
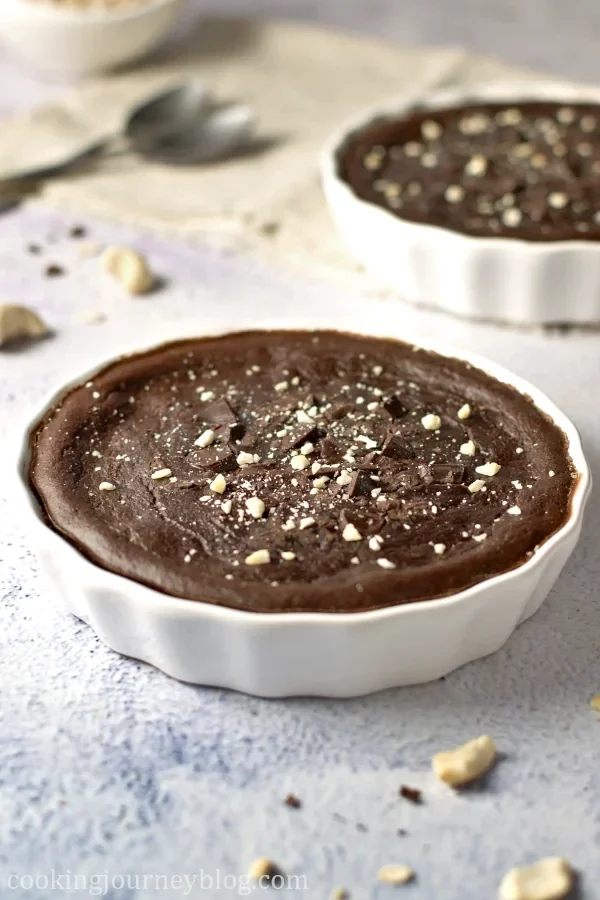
Hokkaido baked cheese tart is an easy and delicious appetizer that can be served as an entree. You can pair them with wine or a cup of tea. Sweet and savory tarts that have rich filling and crunchy pastry. Truly magnificent baking project!
These tarts are not sweet, they are like a small cheesecake. However, they are great to serve on charcuterie board with different sweet jams. Check our apricot jam recipe, it is great addition for serving cheese tarts.
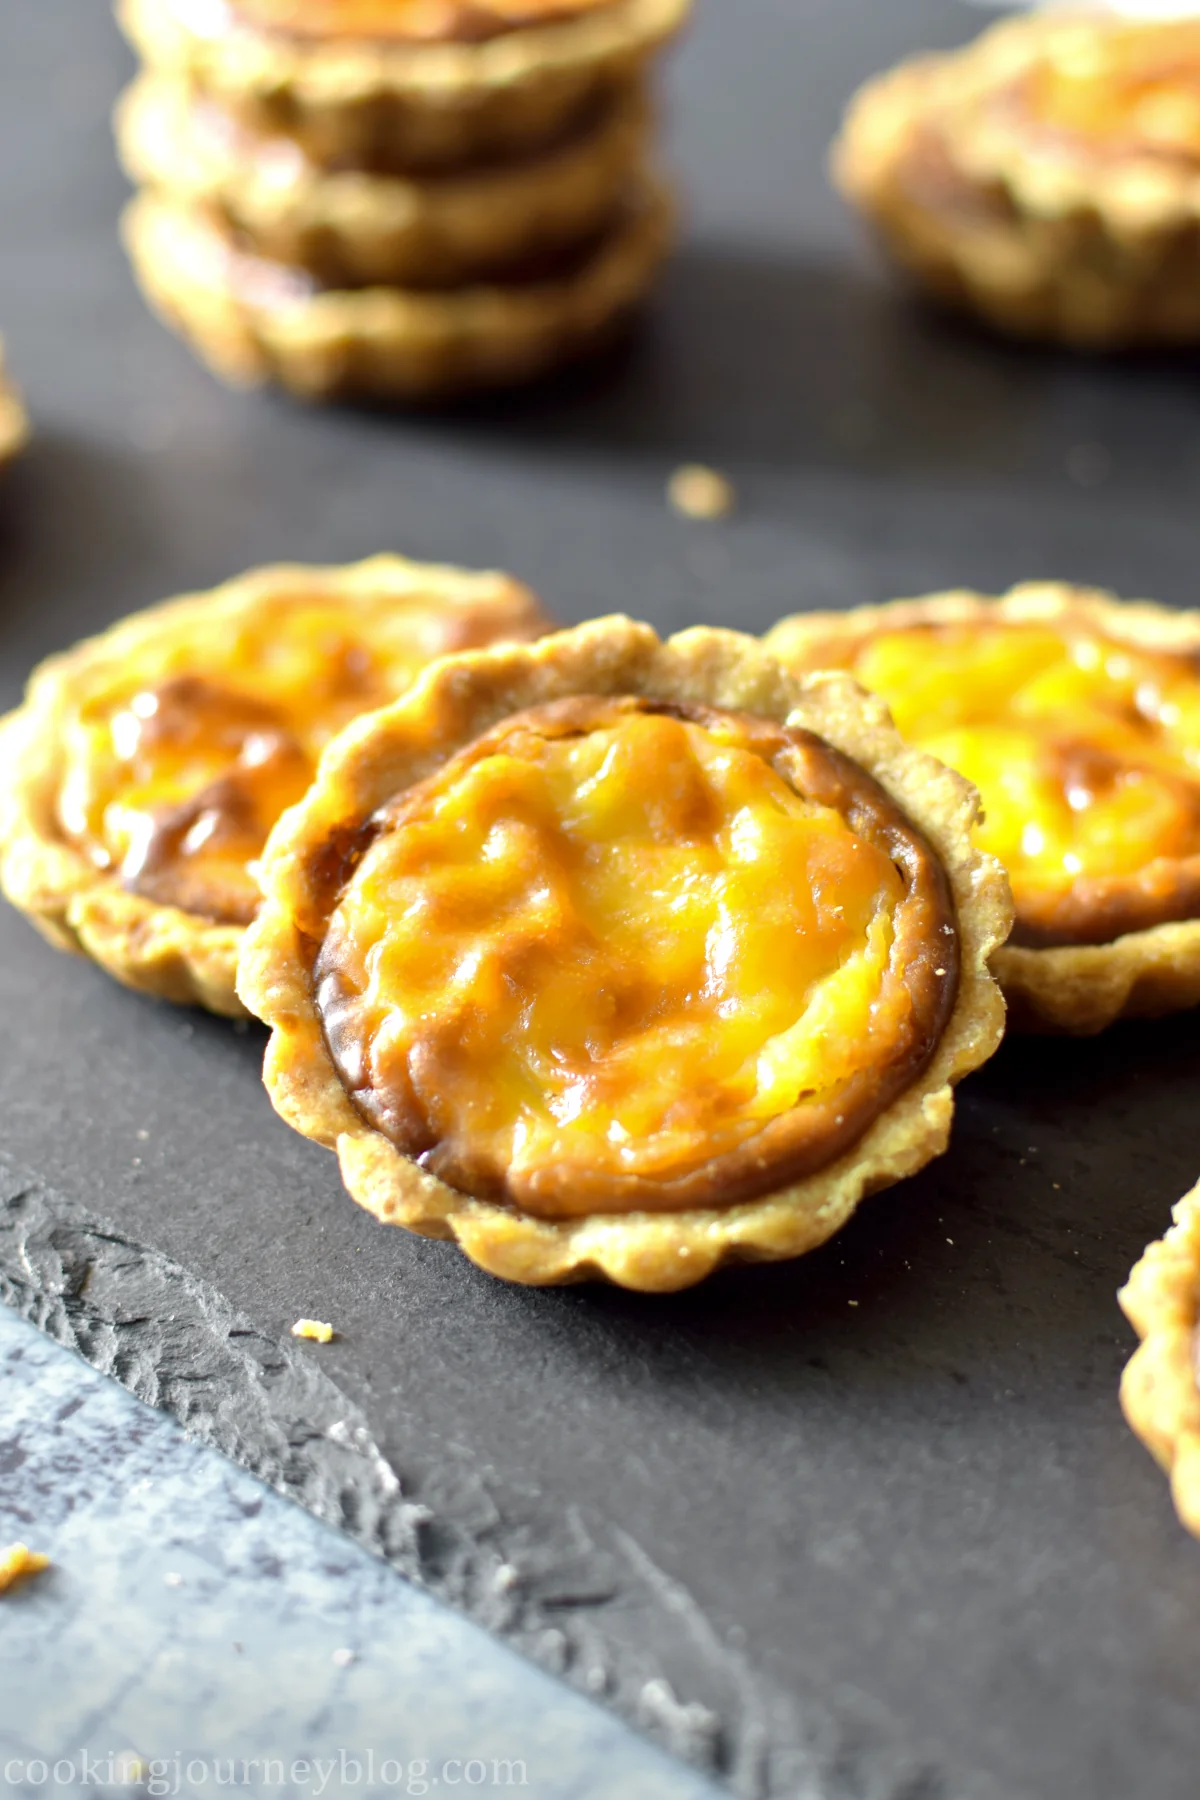
Hokkaido tarts taste great at room temperature, chilled or frozen. These tarts are mildly sweet, mildly savory. Flaky buttery crunchy crust, cheesy filling and charred top will blow your mind!
What is Hokkaido cheese tart
Hokkaido cheese tart are made with short crust pastry as a base. Then the cheese filling is cooked. Assembling the tarts is simple – add the filling to the baked tart shells, brush with an egg wash and bake or grill until top is lightly charred.
“Hokkaido” means the “onshore land”, translated from Japanese. They are named after the Japanese Hokkaido island, where the original recipe was born. They are really popular in Asia, as well as in Australia and United States. We don’t know the recipe secret, but I tried to create my own version. Hope you give it a try!
Ingredients for the Hokkaido baked cheese tart
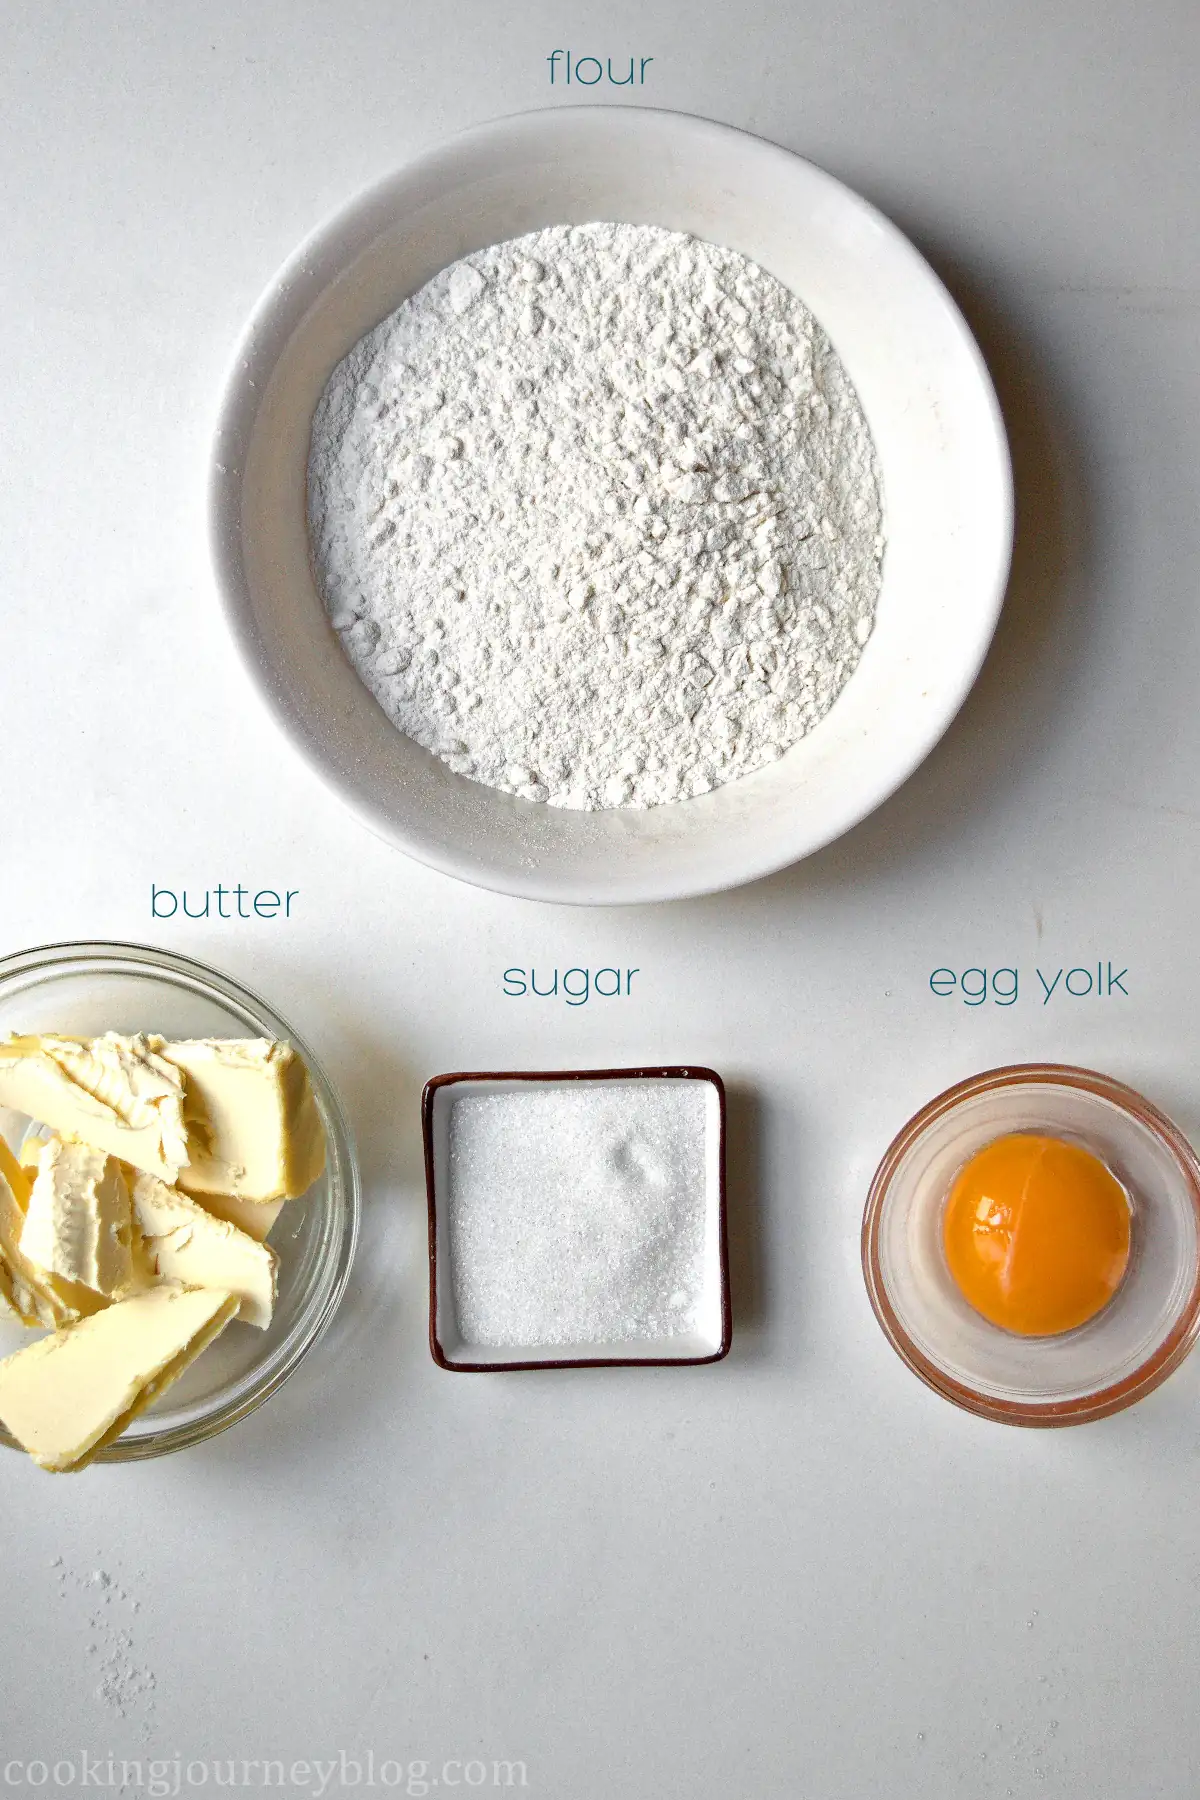
Sweet short crust pastry is a popular type of pastry for big or small tarts. To make it, you will need butter, sugar, flour and egg yolk.
Cheese filling is rich and creamy, it is something in between savory and sweet. It is not like a cheesecake, because Parmesan cheese adds a lovely savory note.
You will need three types of cheese – Mascarpone, Cream Cheese and Parmesan Cheese. You will also need butter, sugar, vanilla. A little bit of starch will thicken the filling. To make it more rich and set you will also need two eggs.

How to make a cheese tart
Hokkaido cheese tarts consists of shortcrust pastry and cheese filling.
Start with sweet short crust pastry
You will need all-purpose flour, butter, sugar and egg yolk.
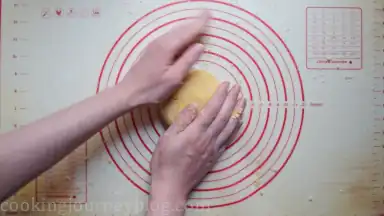
Knead the dough with your hands or stand mixer until combined.
Make a disc, wrap it in plastic and leave it in the fridge to chill for 30 minutes.
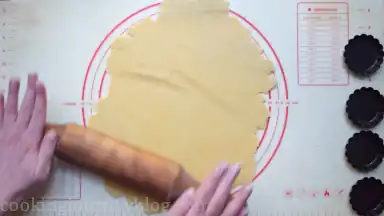
Roll the dough with a rolling pin and cut the rounds for your tart molds or a muffin tin.
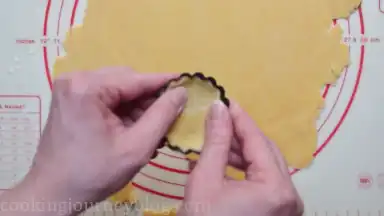
Use your fingers to press the pastry into the molds, cut the edges and re-roll the scraps, if needed.
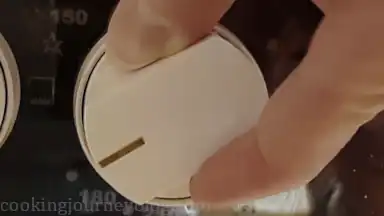
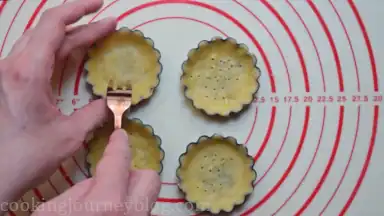
Prick the holes in the pastry shells and bake 10 minutes in the oven, preheated to 356 F / 180 C.
Let them cool before adding the filling.
Cheese filling for the tarts
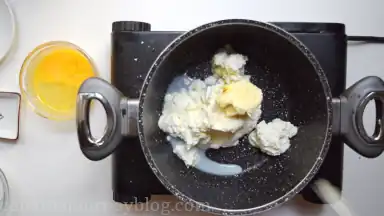
Put a small pan on the low heat.
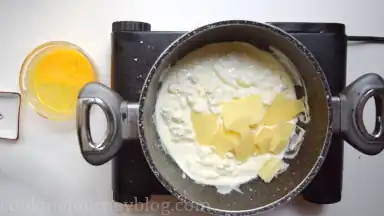
Melt Mascarpone, cream cheese and butter. Add Parmesan cheese.
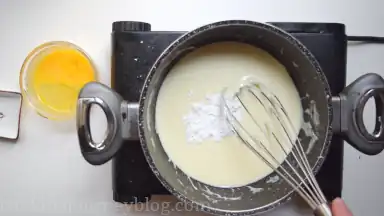
Whisk in starch, sugar and vanilla.
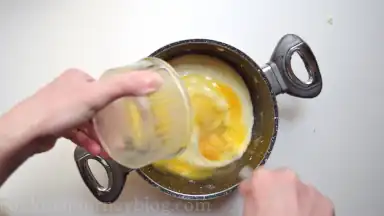
Remove the pot from heat and slowly whisk in eggs.
Let the mixture cool before placing in the piping bag.
Assembling the tarts
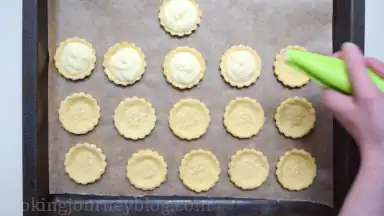
Place baked tart shells on the baking tray, layered with parchment paper.
Pipe the cheese filling into each tart shell.
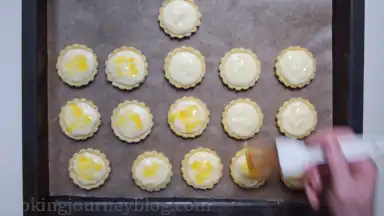
Brush the top with leftover whisked egg.
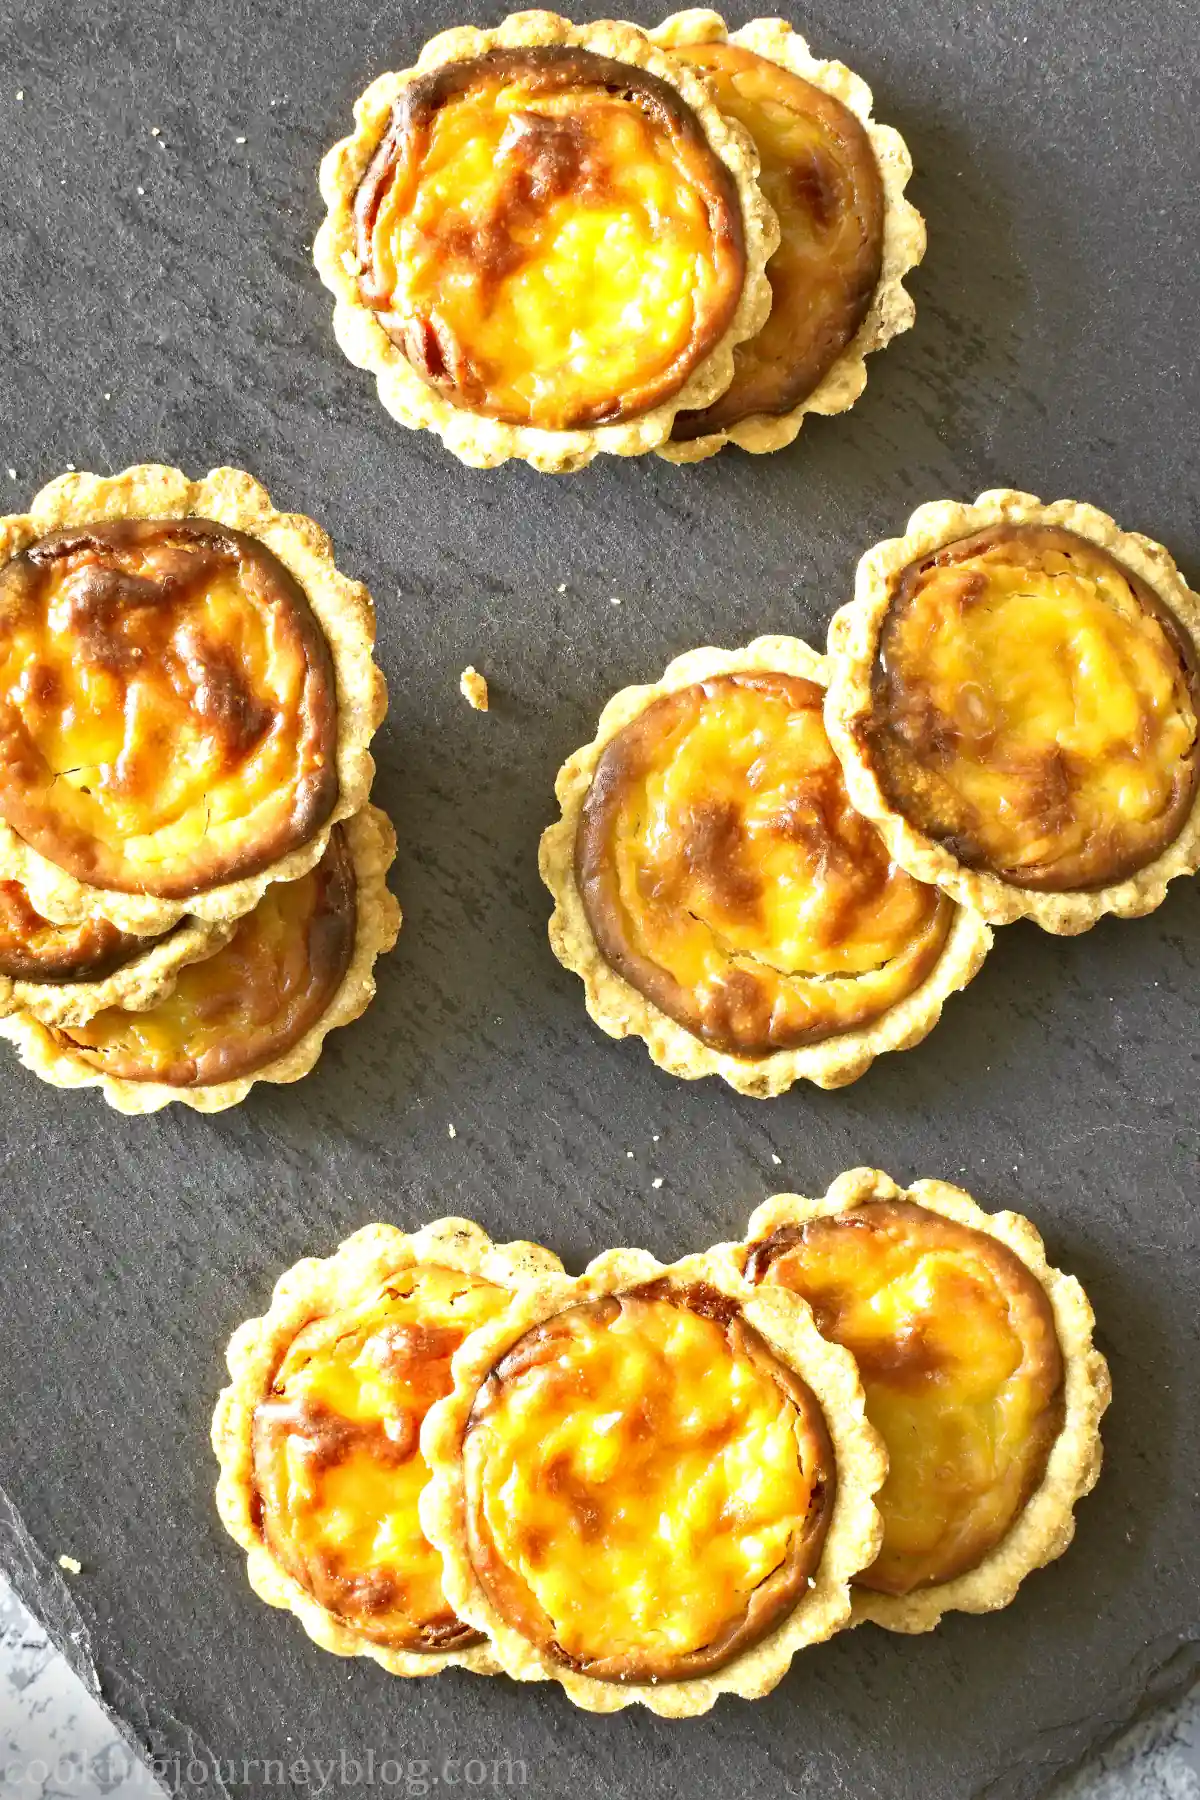
Bake 10 more minutes in the oven, preheated to 428 F / 220 C until golden brown. Alternatively, you can grill the tarts until charred.
Serve Hokkaido baked cheese tarts warm, at room temperature, chilled of frozen!
How to store baked cheese tart
You can store at room temperature, if you plan to serve them the same day.
They will keep in the fridge up to 4 days. I store them in the air-tight containers.
Freeze the tarts up to one week. Keep in mind that they may loose crispiness.
You can also store baked tart shells without the filling up to a week at room temperature.
Tips for making the best Hokkaido baked cheese tart
- Adjust the baking time, depending in the size of your tarts. If you bake the tarts more, they will loose the creamy texture and the top will be bitter.
- Your dough should be cold enough to easily shape the tart shells.
- Bake tart shells separately from the filling. The process is called blind baking.
- Cream cheese filling should be warm, but not bubbling, before whisking the egg. Otherwise you will scorch it.
- Use good quality ingredients to reach the best taste profile of the Hokkaido baked cheese tart.
- If you don’t own mini tart mold, don’t worry! You can make those in your regular muffin tin. Just keep in mind that muffin tin is higher than tart molds. Regulate the baking time of fill the half height of the tins.
Hope you will try this easy Hokkaido baked cheese tart recipe! Tag us on social media or comment to let us know! Don’t forget to follow us on Pinterest , Instagram , TikTok and Facebook to receive up-to date simple and sweet recipes like this!
Check our other tart recipes:
Do you have leftover Mascarpone cheese? Try one of these dessert recipes:
- Gooseberry Fool
- Tiramisu cookies
- Yule Log Cake
- Easy tiramisu recipe
- Trifle recipe
- Easy Chocolate Blueberry Cake

Hokkaido Baked Cheese Tart
- 10-20 mini tart moulds (2-3 inch / 6 cm) or mini muffin tin
- pastry bag
- Baking tray
- parchment paper
- Oven
- Rolling Pin
- pastry brush
- 75 g butter
- 2 tbsp sugar
- 1 egg yolk
- 140 g flour
- ¼ tsp vanilla powder or extract
- 100 g cream cheese
- 100 g Mascarpone cheese
- 40 g Parmesan cheese
- 2 tbsp butter
- 30 g sugar
- 1 tbsp starch
- 2 eggs whisked*
- Preheat the oven to 356 F / 180 C.
- Start pressing butter into the flour and sugar.75 g butter, 140 g flour, 2 tbsp sugar
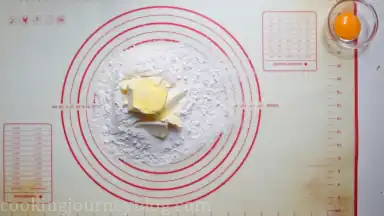
- Add egg yolk.1 egg yolk
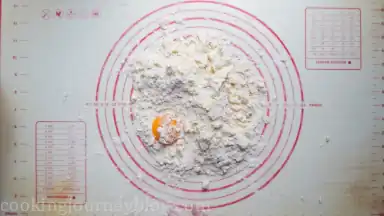
- Knead the dough until well incorporated. Wrap and refrigerate 30 minutes.
- Roll the dough with the rolling pin.
- Cut the rounds for the tarts and press into the moulds. Remove the excess from the sides and re-roll the dough once, if needed.
- Use a fork to prick the holes. Bake 10 minutes and let them cool.
- Put a small pan on the low heat. Add Mascarpone and cream cheese and butter. Let it melt.100 g cream cheese, 100 g Mascarpone cheese, 2 tbsp butter
- Add Parmesan cheese to the pot.40 g Parmesan cheese
- Add starch, sugar and vanilla, whisk together until melted and combined.30 g sugar, 1 tbsp starch, ¼ tsp vanilla
- Remove from heat and slowly whisk in eggs. Let it cool.2 eggs
- Put the cheese filling in a piping bag. Fill the tart shells until the top.
- Brush with leftover whisked eggs.
- Bake in the oven, preheated to 428 F / 220 C for about 10 minutes until the top is golden-brown.


I really appreciate your step-by-step directions on how to make these easy cheese tarts. They sound marvelous and I can’t wait to taste them.
Thanks a lot Nikki, glad you liked this recipe!
Oooo, these will make a great appetizer for a pot luck I have this week. I can’t wait to try them!
Thank you Janessa! Yes, this tarts are awesome as appetizers!
Super cheesy and yummy! Will make again!!
Glad you liked it Kris, thanks a lot 🙂
Those look gorgeous. They would be good with salad or in lunchboxes
Yeah, I do agree, awesome idea for a lunchbox as well!